

Getting started
Getting started
Section titled “Getting started”NestorCut packs your parts onto your sheets to save material. You drop your drawings in, set the sheet and the spacing, the engine searches for the best arrangement and hands you a cutting file ready for the shop floor. Everything can happen in your browser: DXF in, DXF out.
Where the computing happens
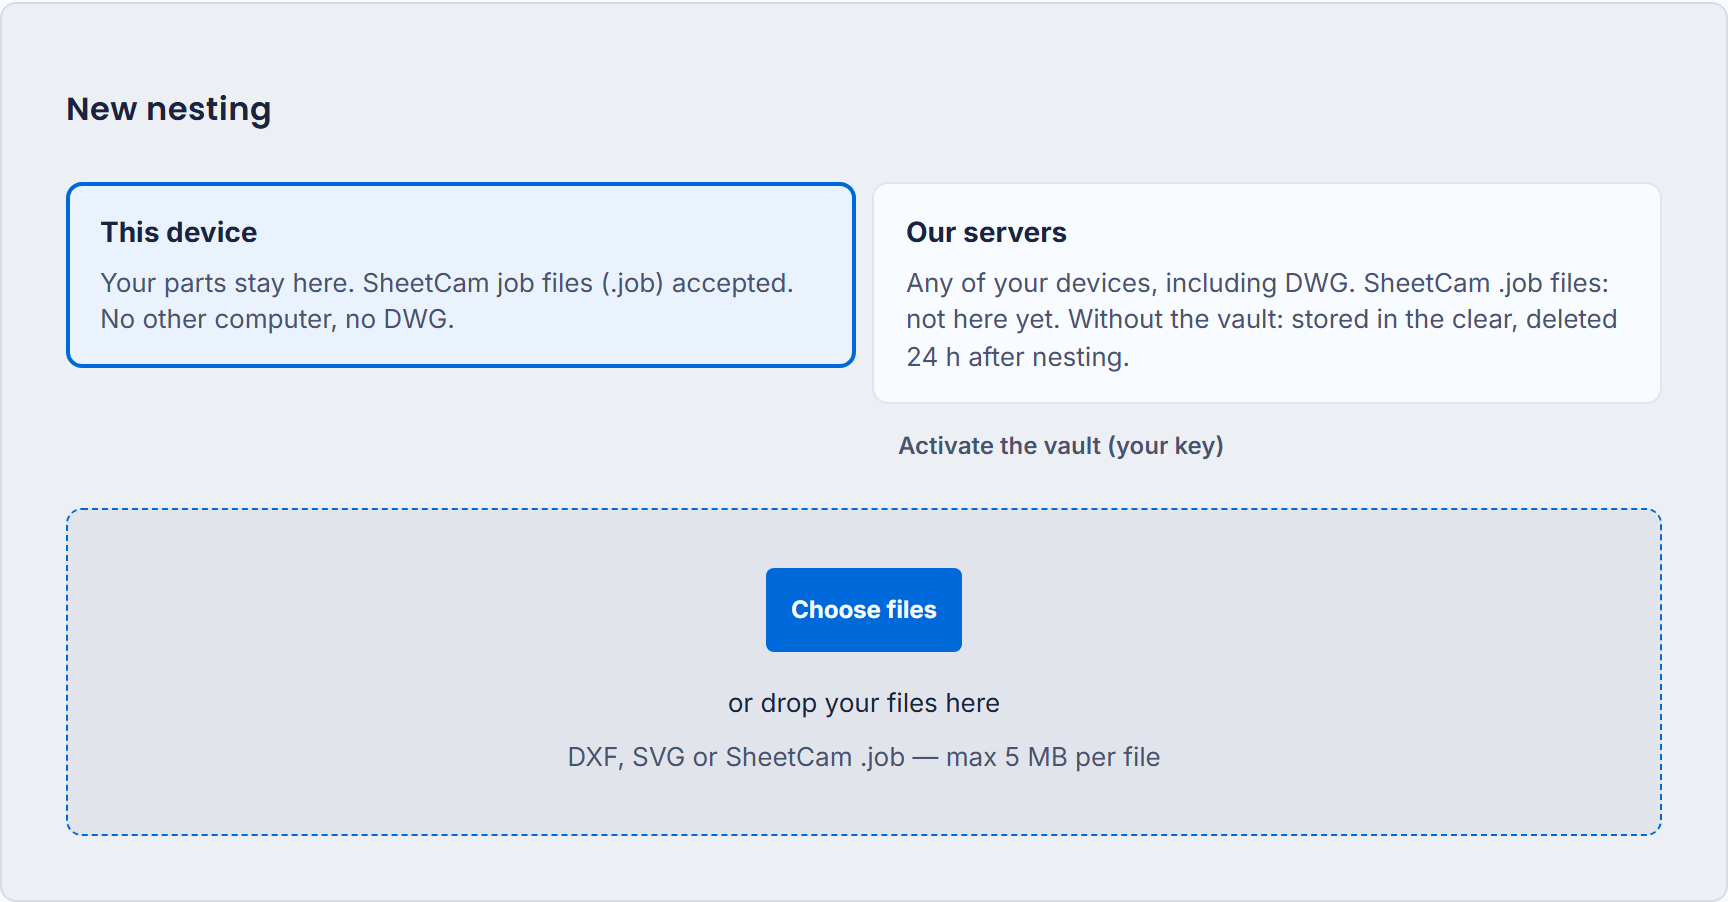
Section titled “Where the computing happens”When you create a project, you choose where your files live — and you can change your mind for the next project:
- This device. The engine runs IN your browser and the results stay saved on your machine. Nothing leaves the computer: not your drawings, not your results. This is the choice of a workshop that shows its plans to no one.
- Our servers. Your files are sent to our machines: you keep your projects on all your devices, and the DWG format is read there. Files and results are deleted from our servers after 24 hours.
So where does the computing happen? On the free plan, in your browser in both cases — capped at 2 sheets per job. Computing on our machines, faster and without the sheet cap, comes with the paid plans. In practice: the free plan is enough to judge; big jobs and modest computers take a plan.
Your first nesting in five minutes
Section titled “Your first nesting in five minutes”- Create your account (or try the demo project from the home page). Ten nestings per month are free, no credit card.
- Choose where your files live — this device or our servers, see above.
- Drop your files onto the page: DXF and SVG everywhere, DWG on the
server side. You can also drop a SheetCam job file (
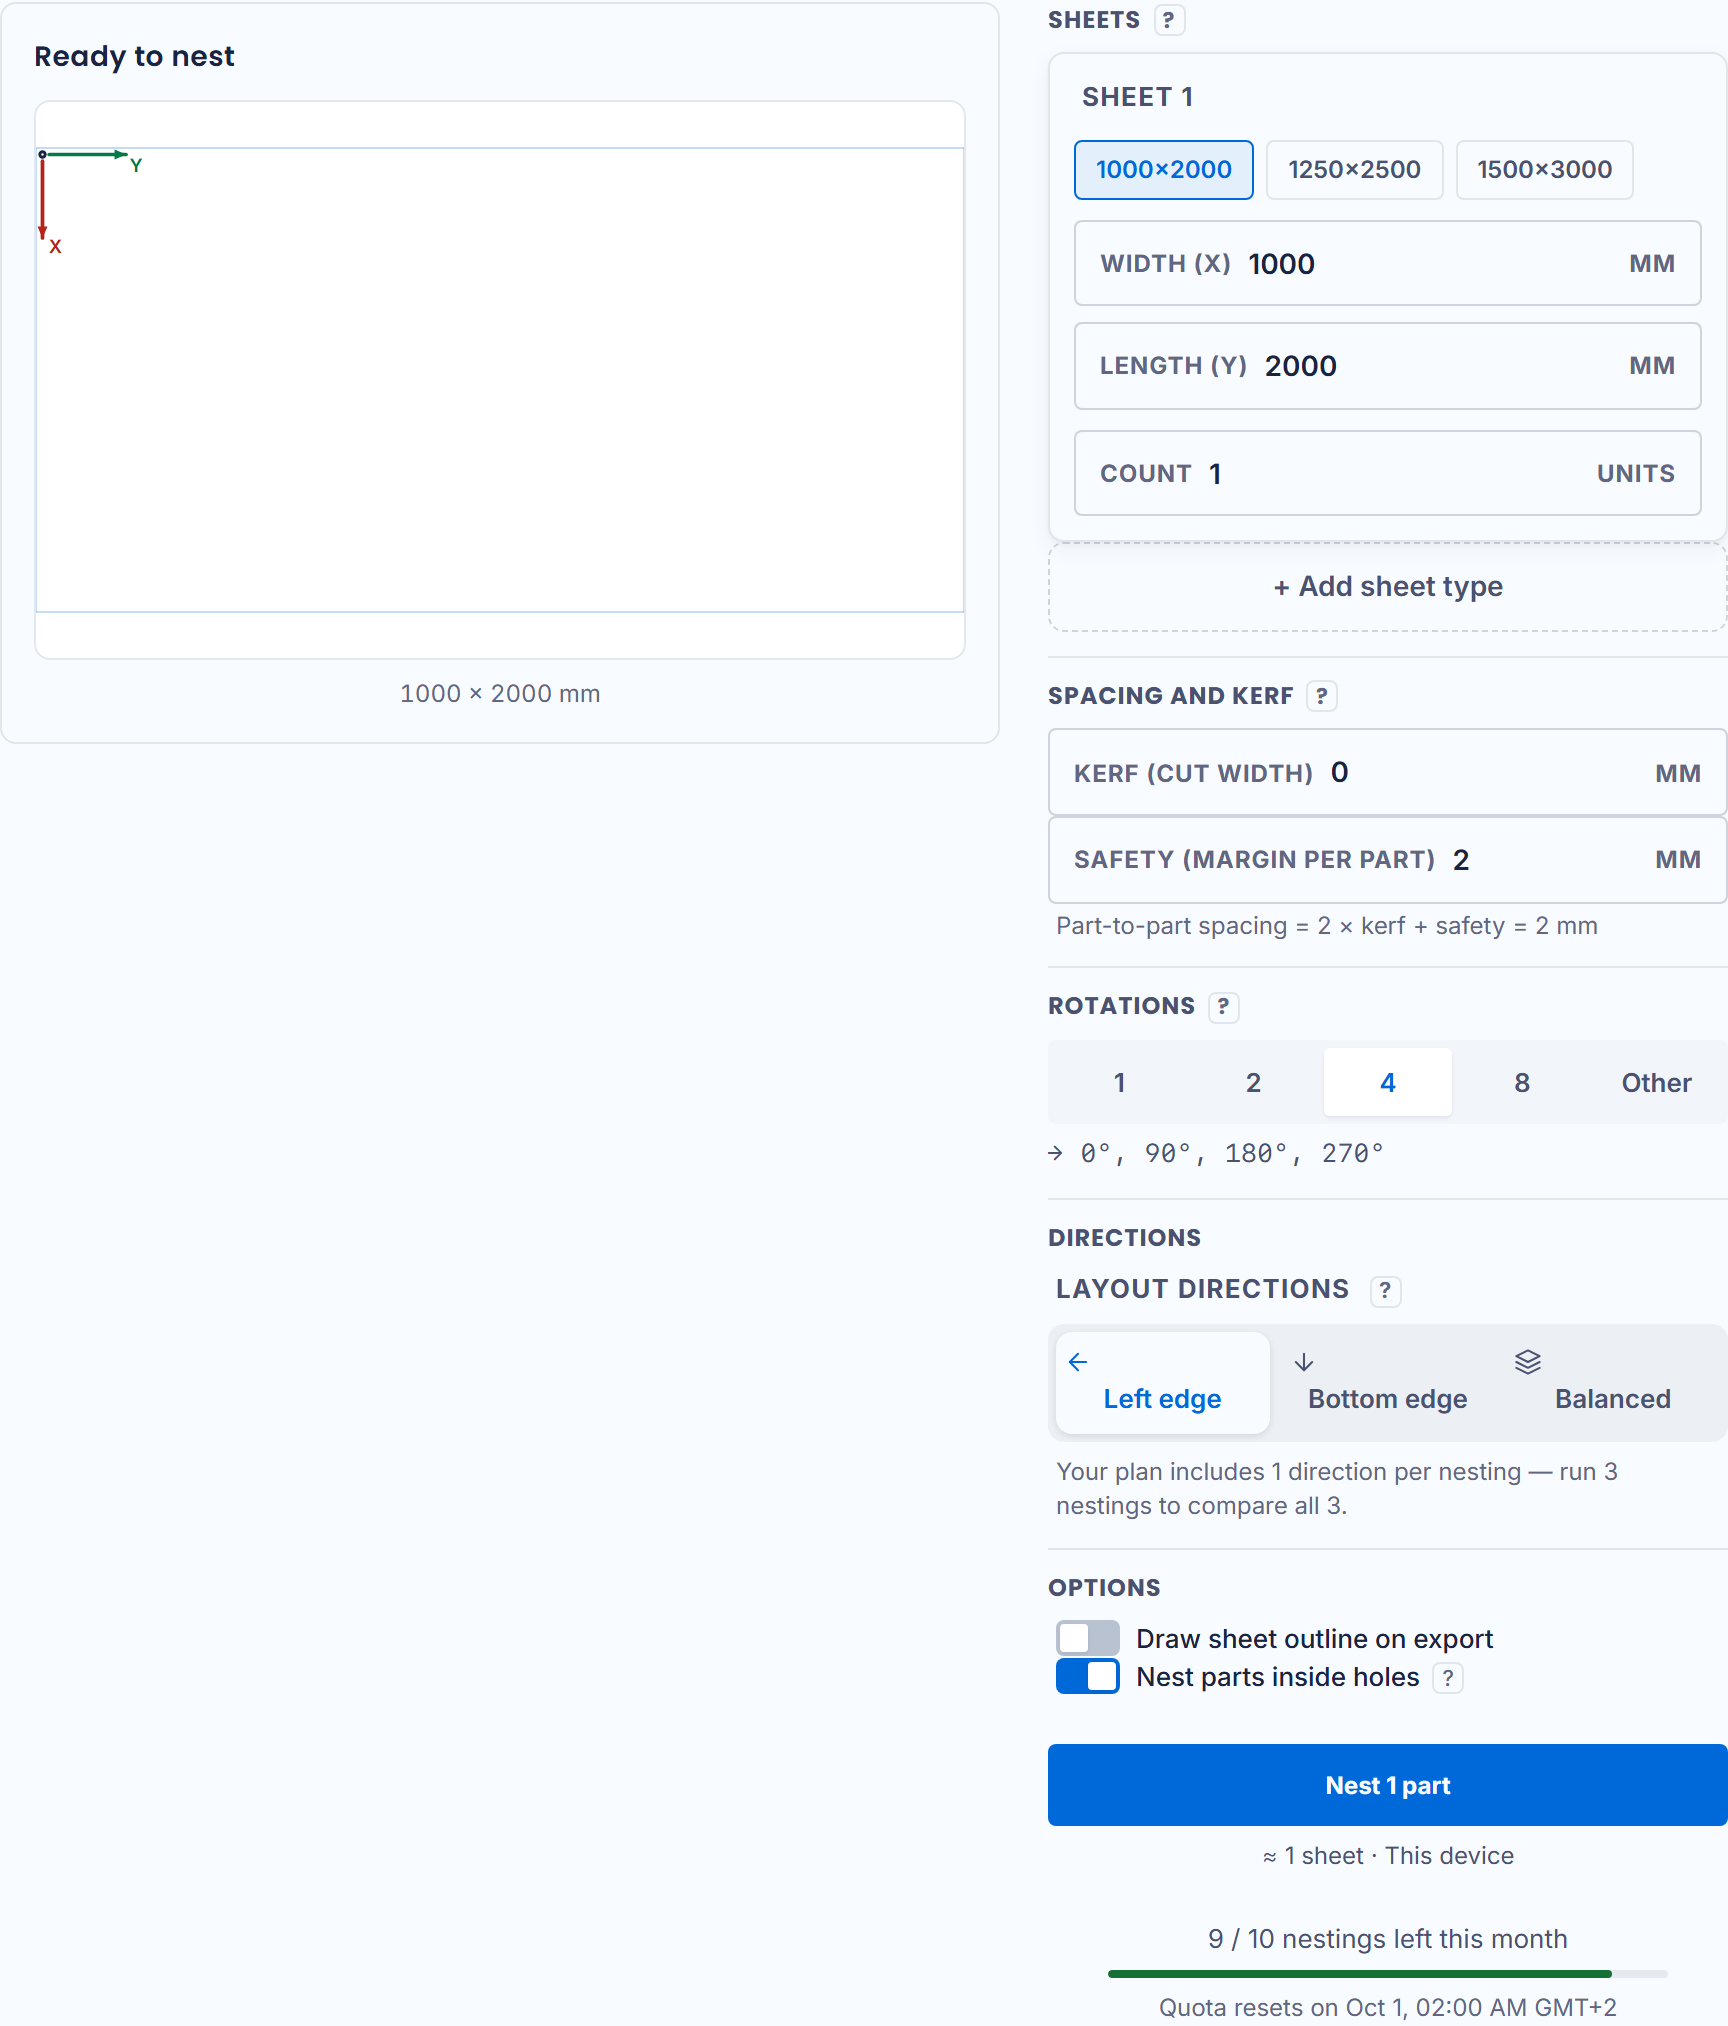
.job) on its own: the sheet, the kerf width, the quantities and your start points are already in it — NestorCut reads them and pre-fills everything. The.jobis deposited on “This device”; dropped in server mode, the project switches to the device on its own. - Set the sheet and the spacing on the project page: dimensions (and how many sheets you allow), spacing between parts — twice the kerf plus a safety margin, the setting that respects your torch — and the allowed rotations.
- Start the nesting. The live view shows the parts settling onto the sheet while the engine searches; you can stop at any time.
- Read the result. On the free plan, one proposal, in the
direction you chose; one proposal per layout direction with a paid
plan. The “Overlap-free”, “Inside sheet” and “Gap ≥” badges followed
by your spacing guarantee that what you see can be cut as is; beyond
5,000 parts per sheet the check can no longer measure everything and
the badge says so: “Not verified”. On the free plan, the cutting DXF
and the
.jobfile (if you dropped one) download; the report (CSV) takes a plan — the “Export” padlocks on screen say so.
What NestorCut is not
Section titled “What NestorCut is not”NestorCut does not drive your machine and does not replace your cutting software: it hands you the best possible arrangement of your parts, to be cut with your usual tools. A part thinner than the spacing, an open contour: the deposit tells you by name, with the cause — no silent failure after ten minutes of waiting.